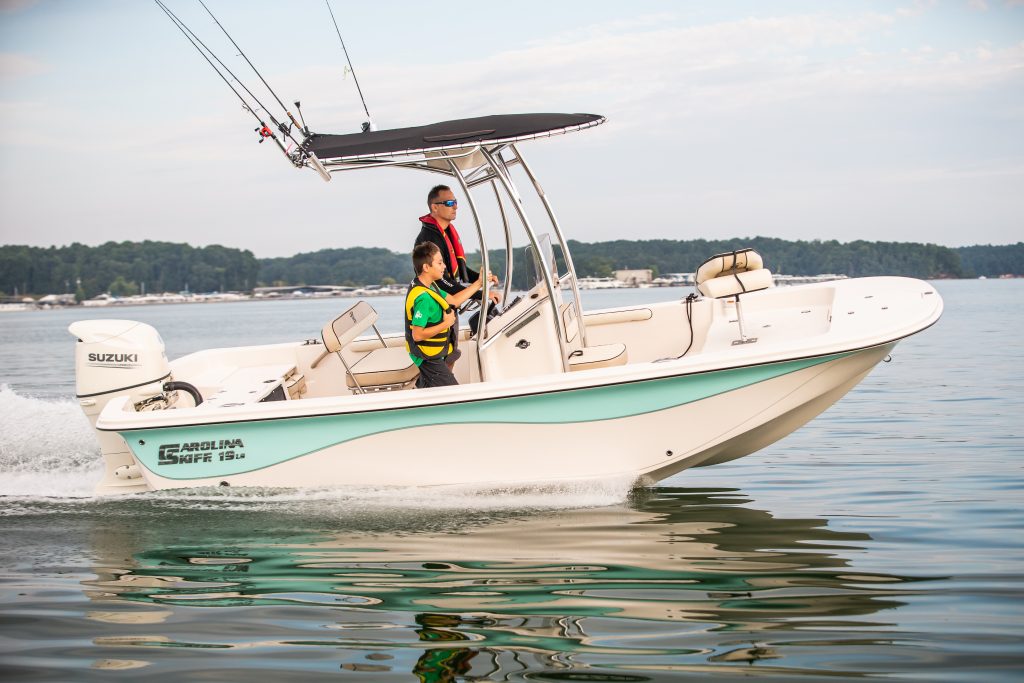
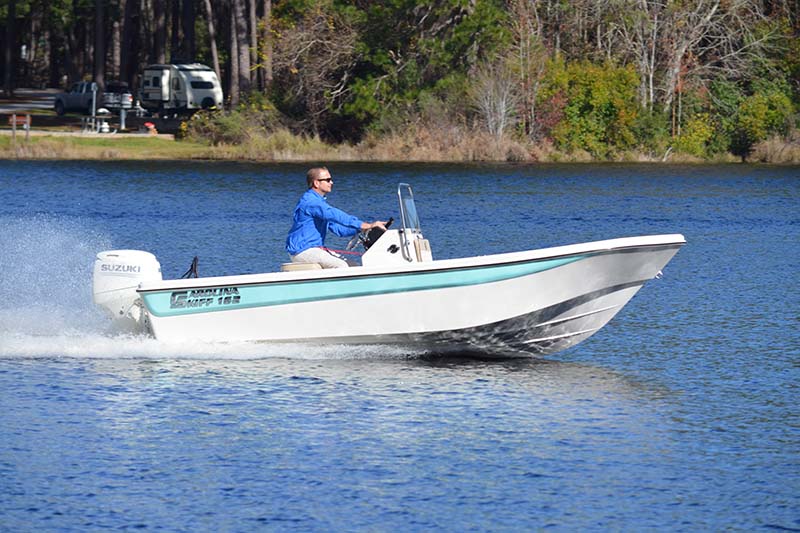
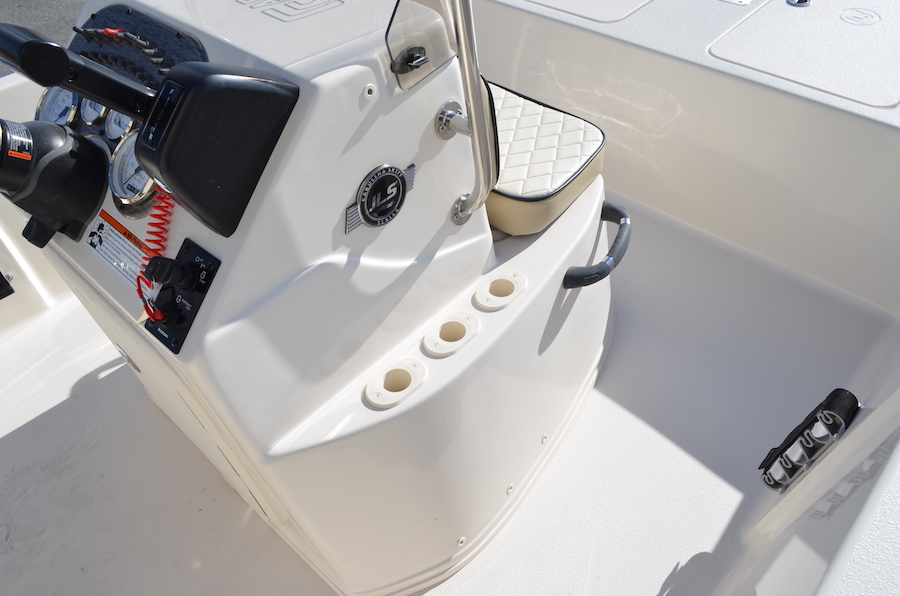
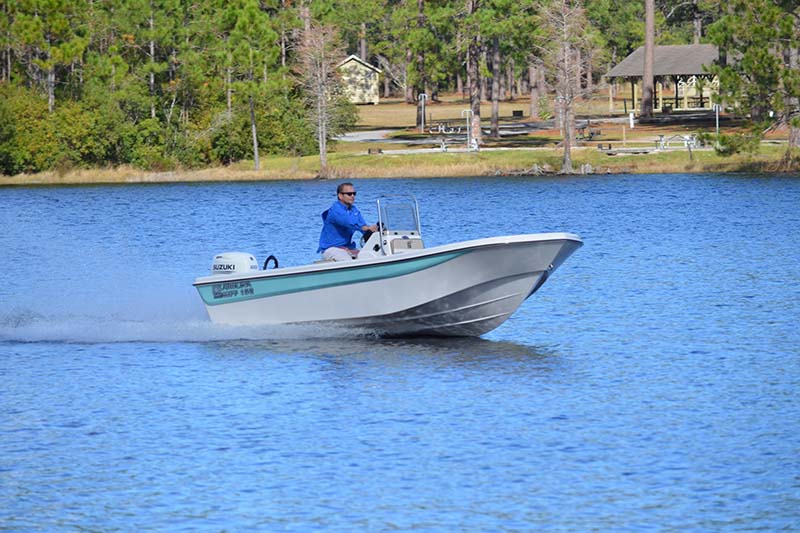
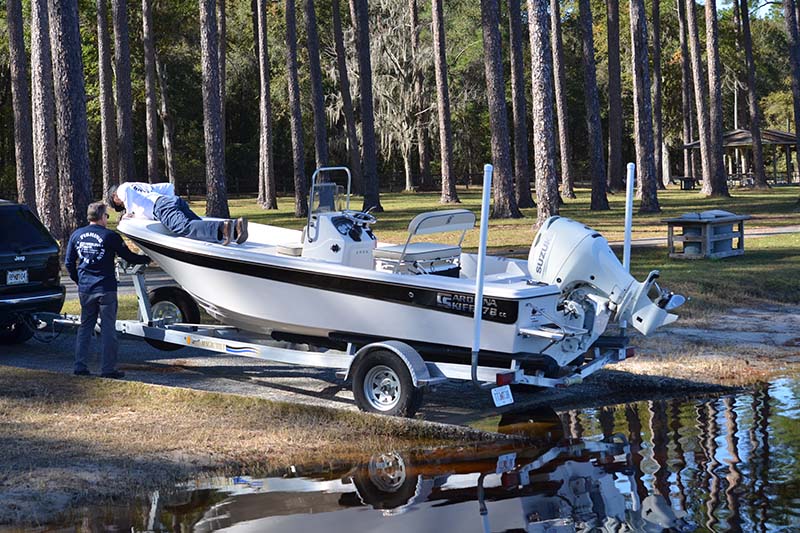
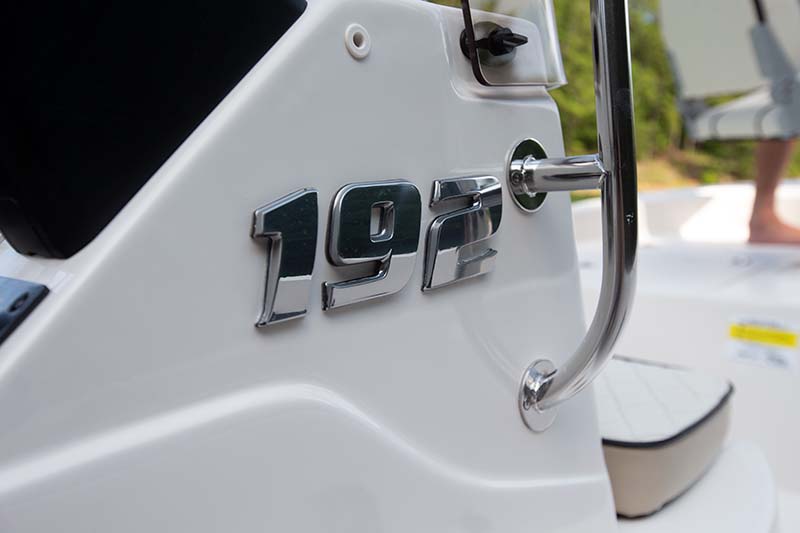
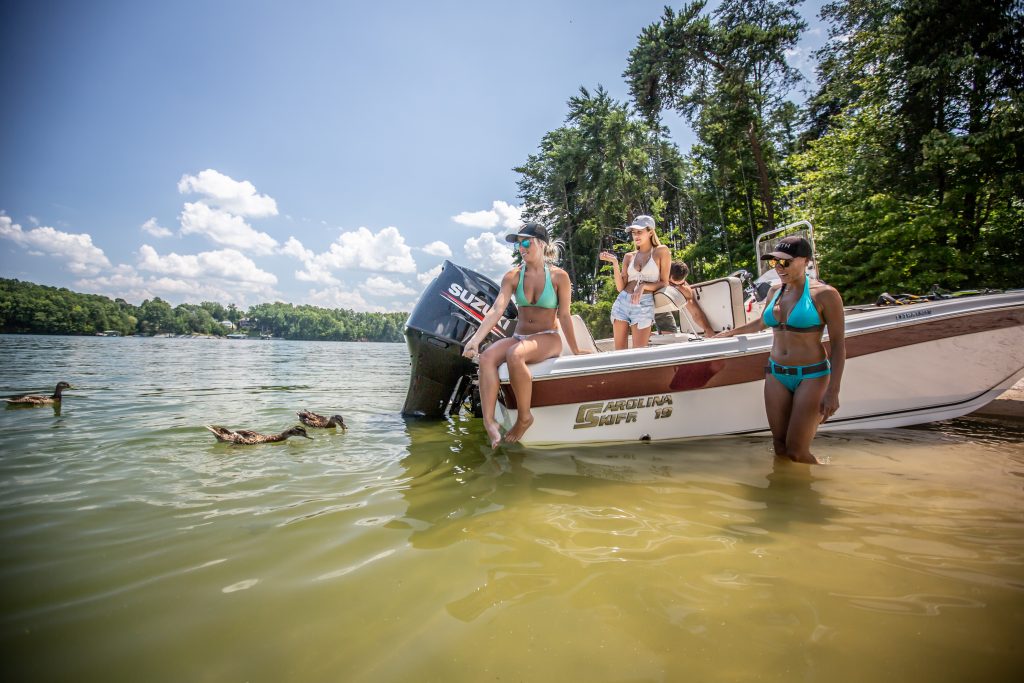
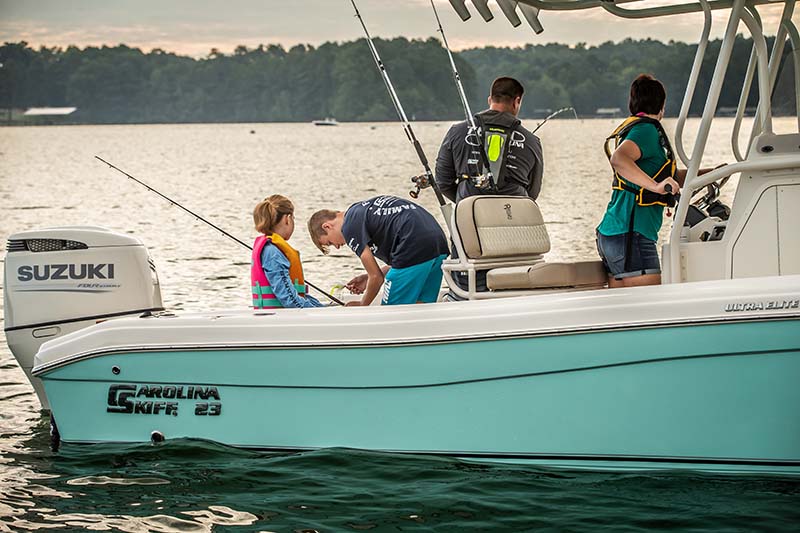
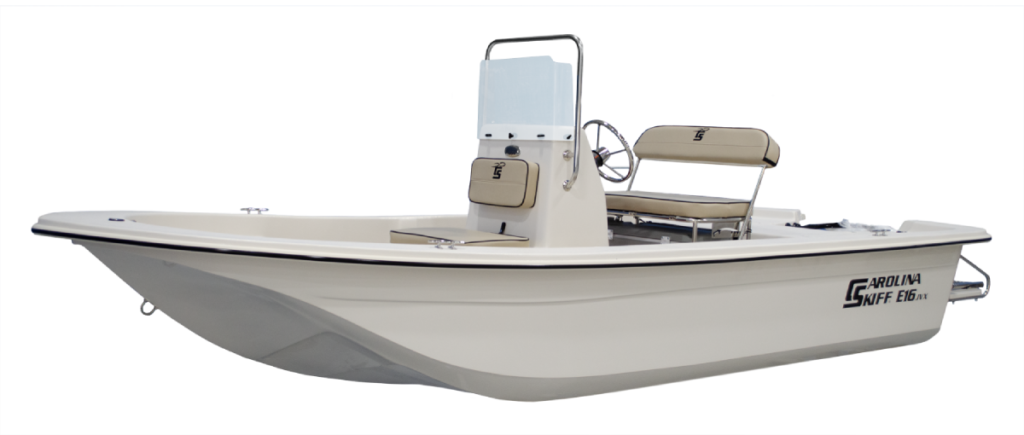
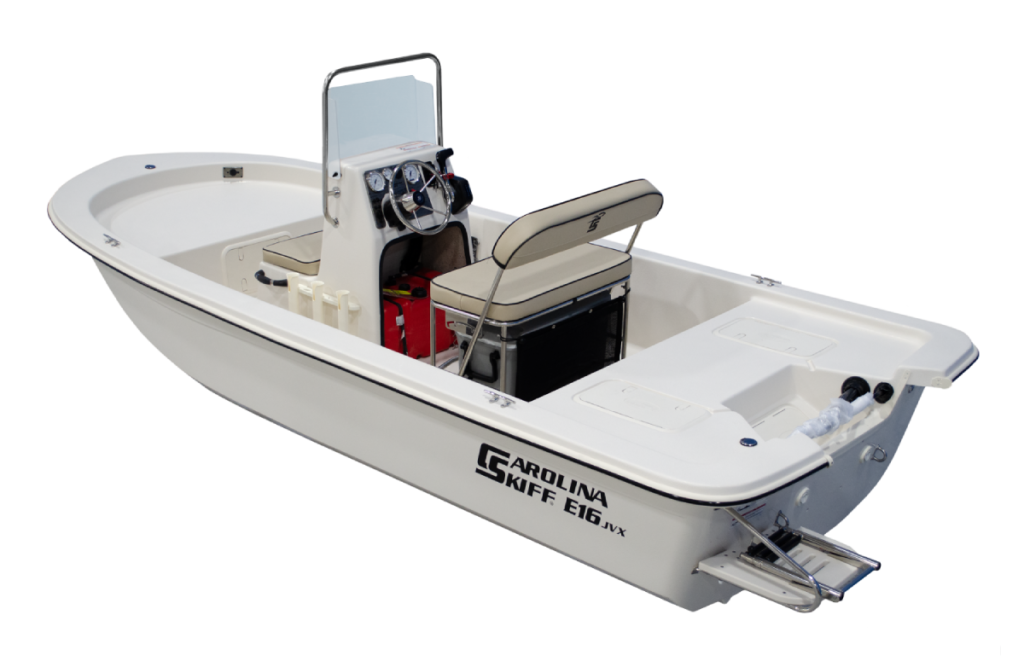
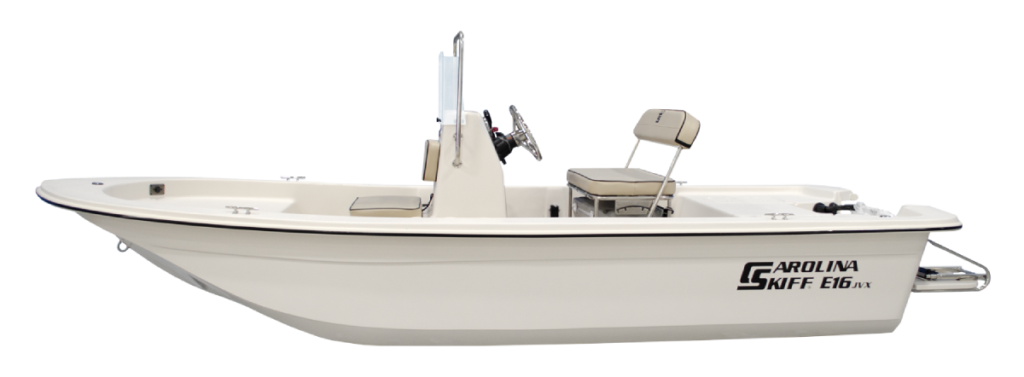
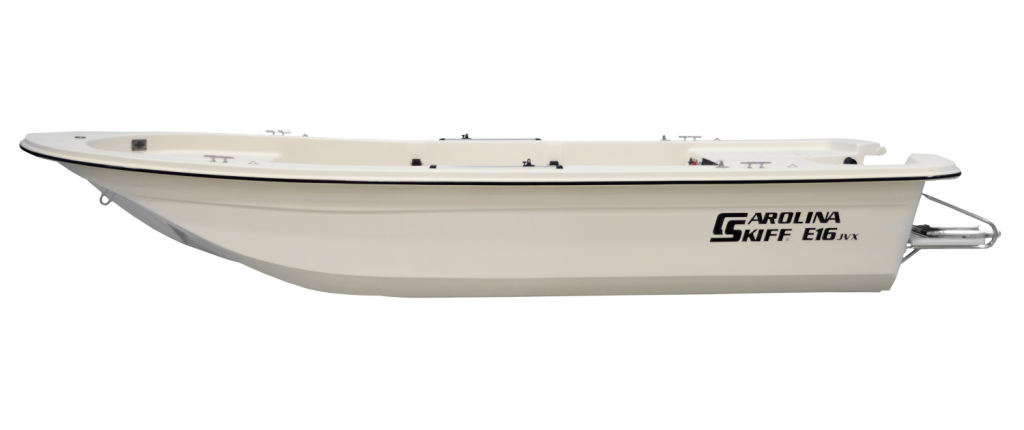
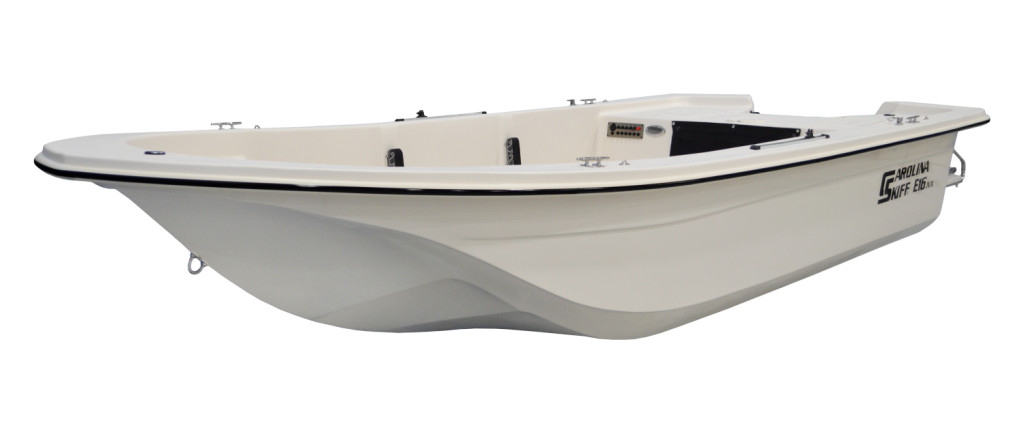
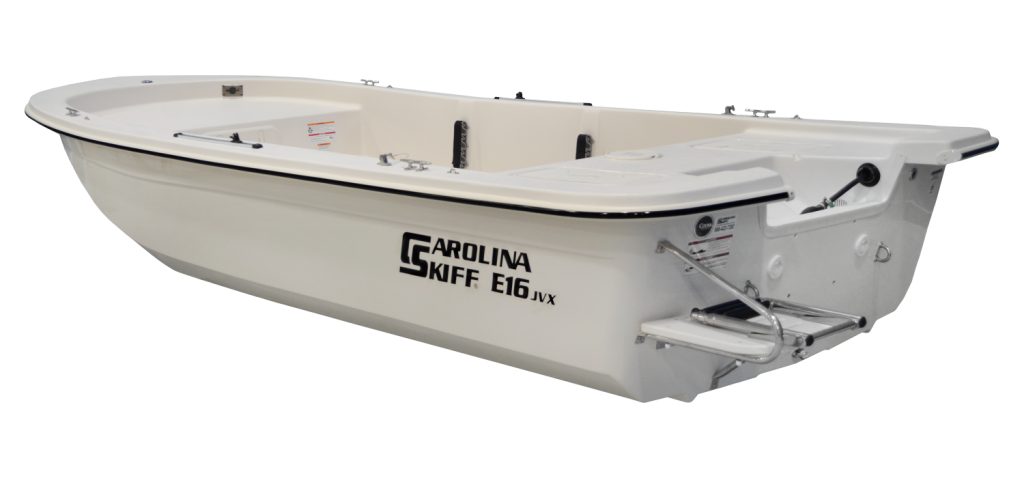
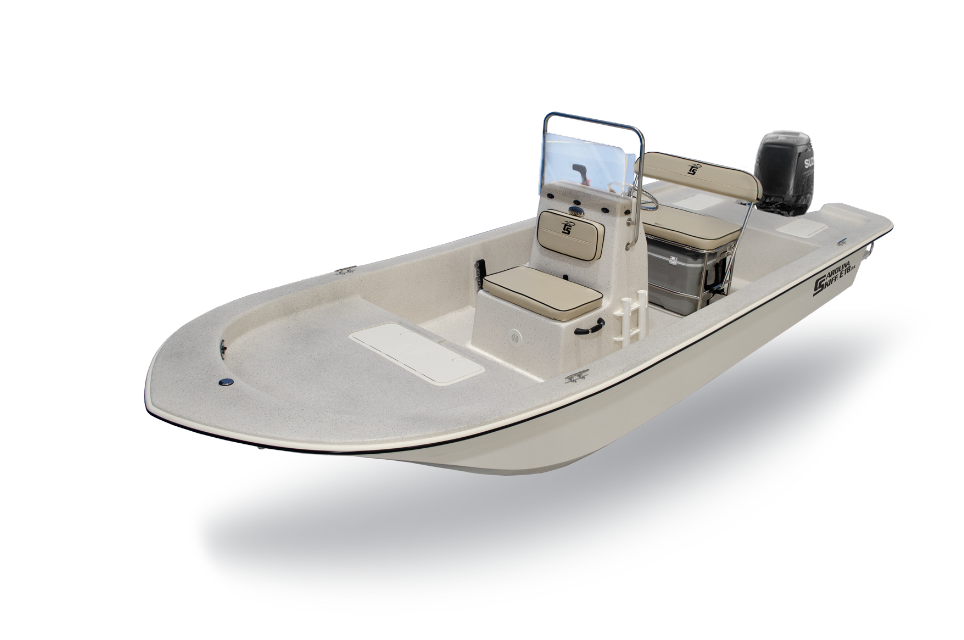
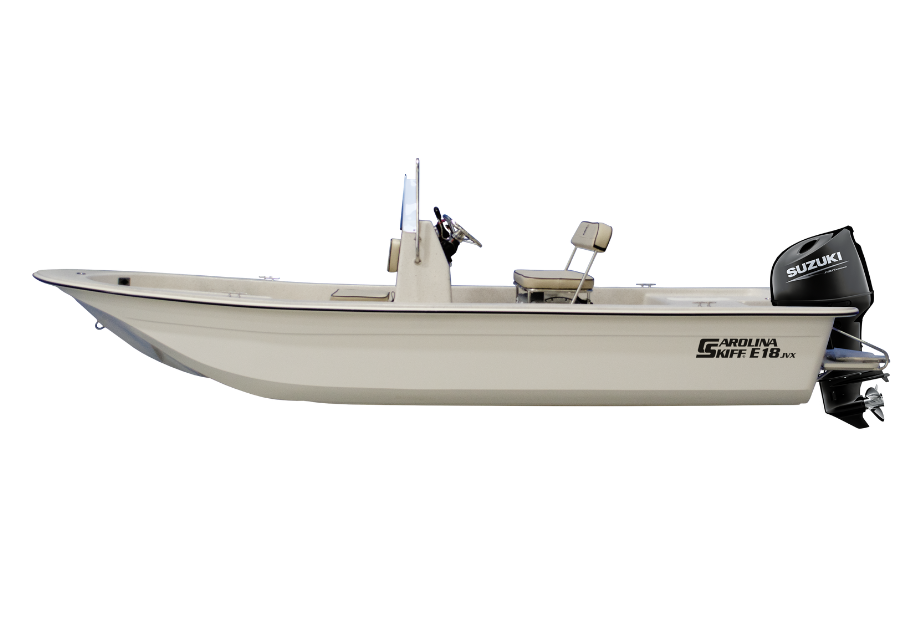
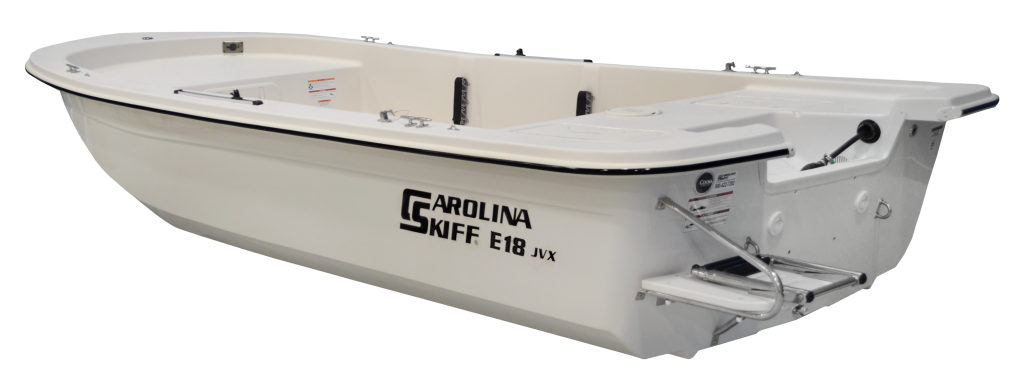
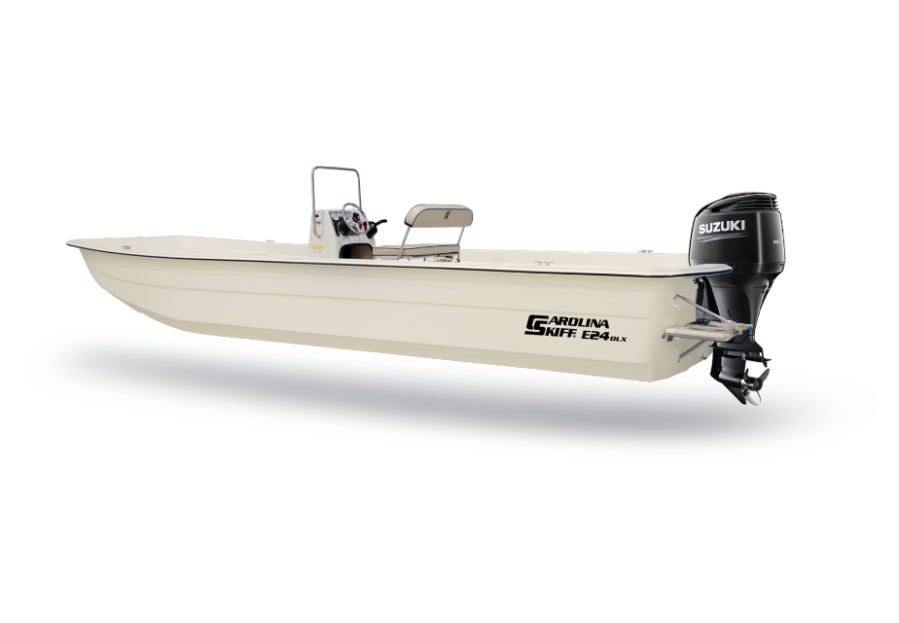
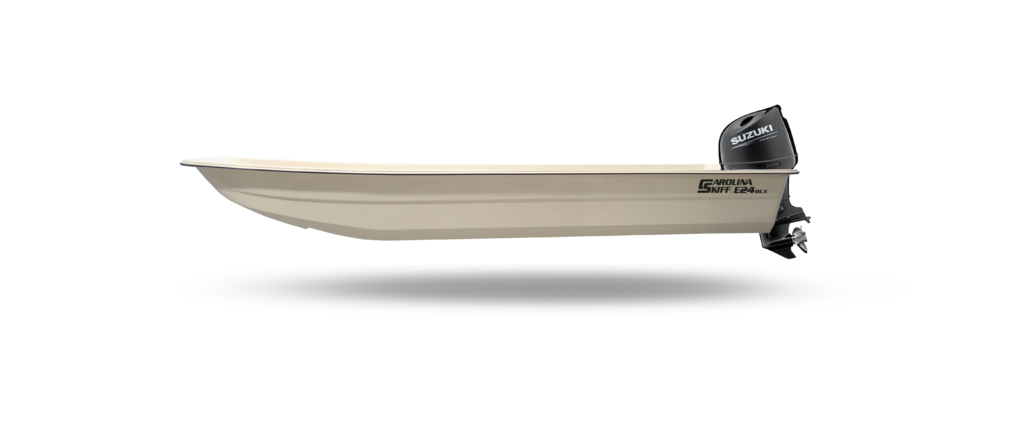
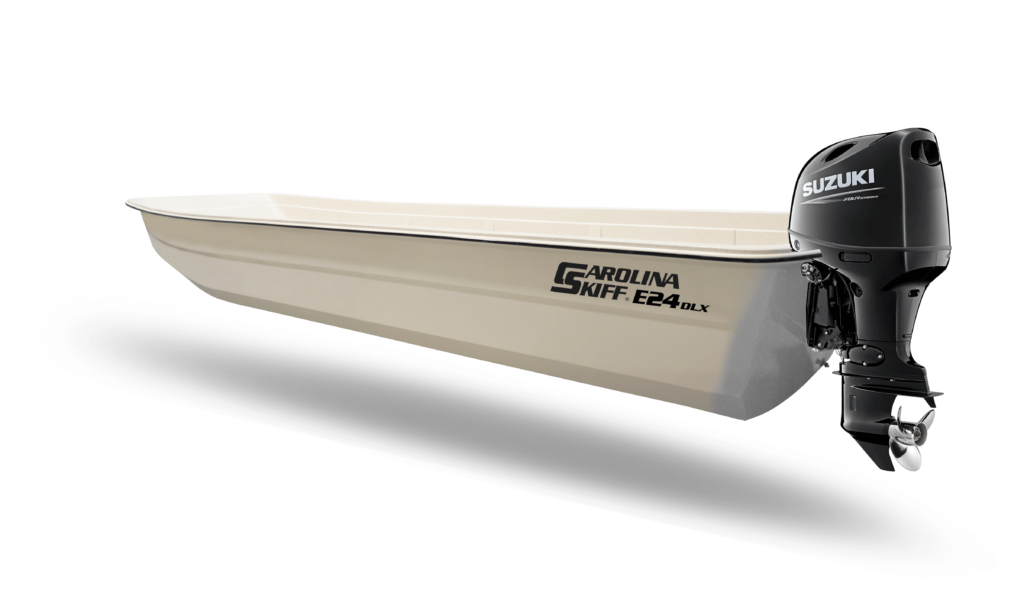
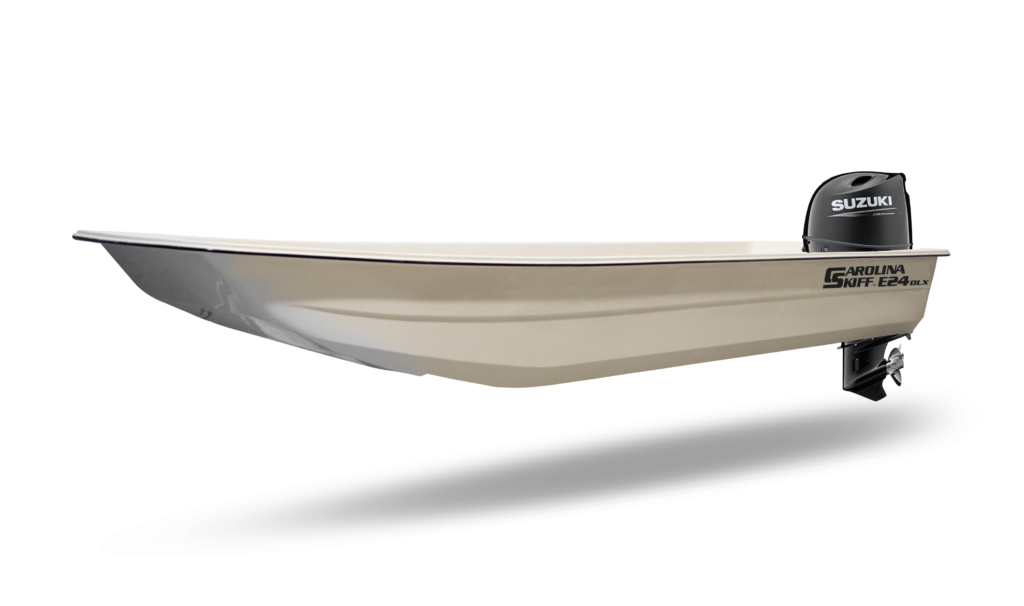
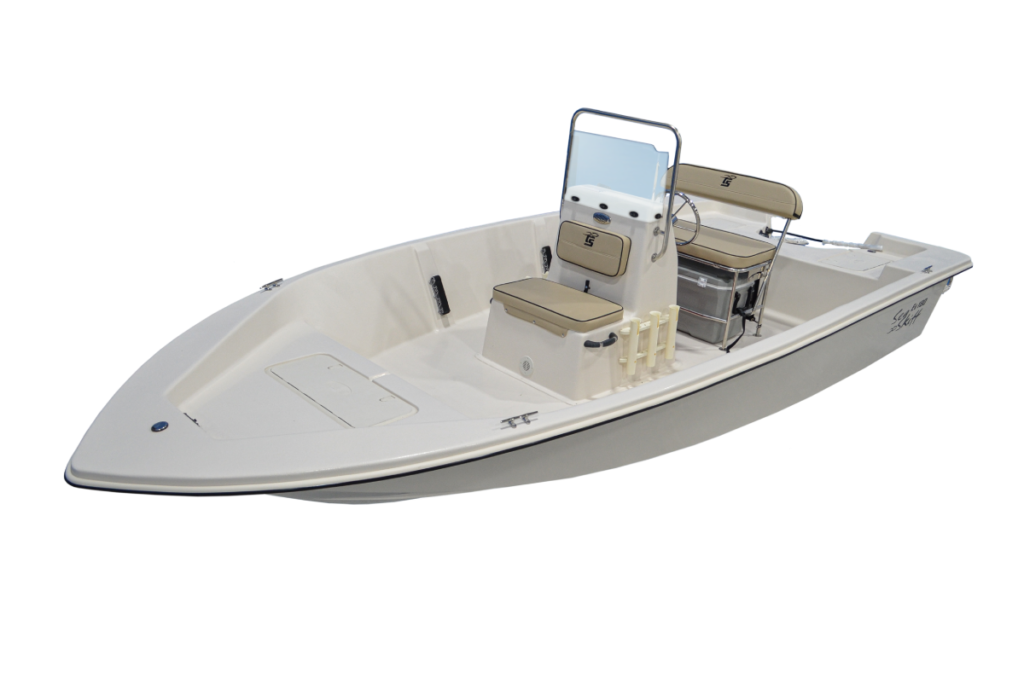
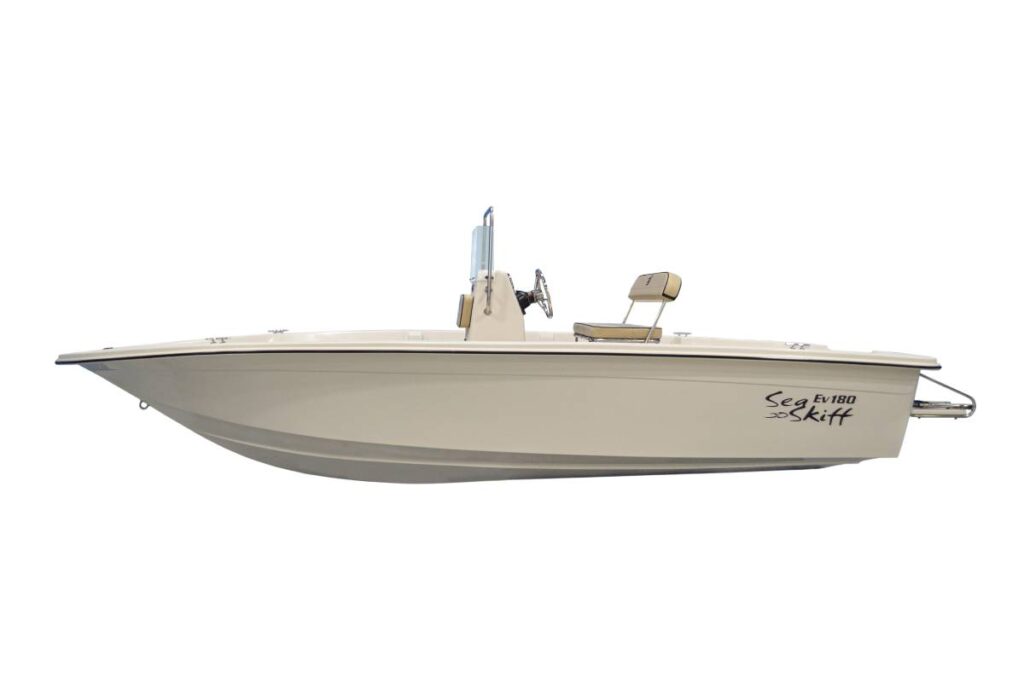
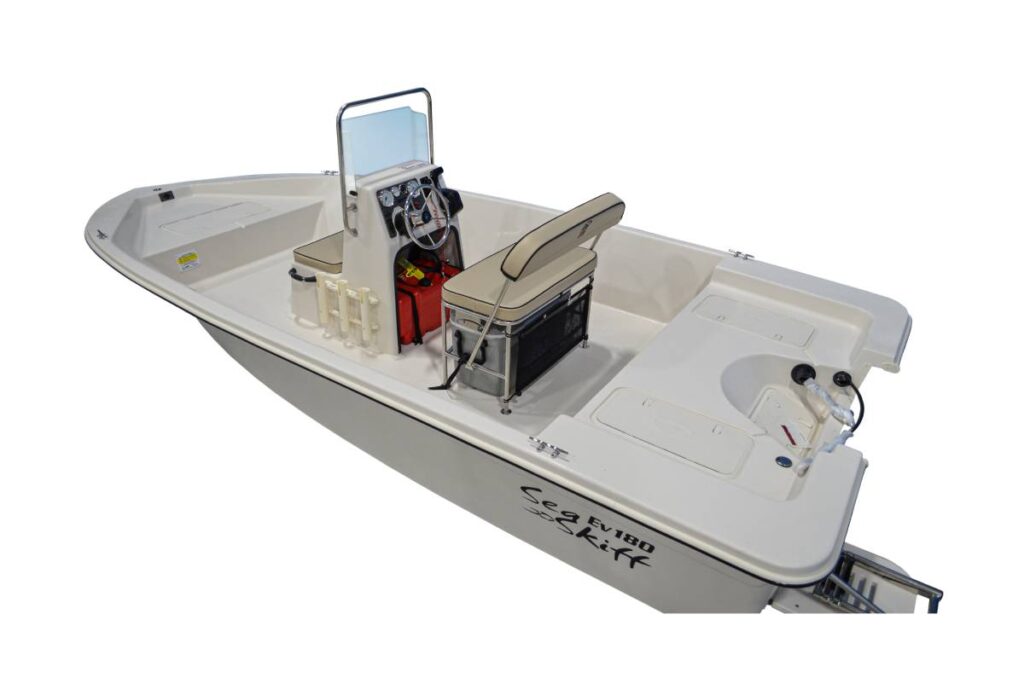
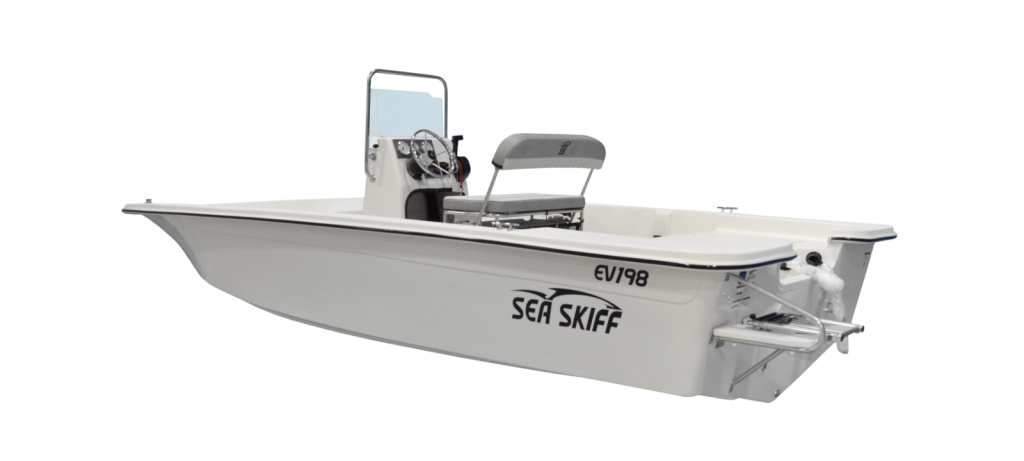
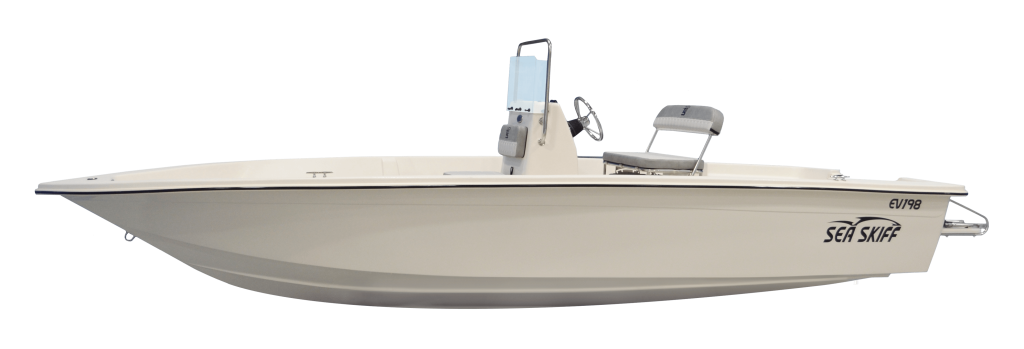
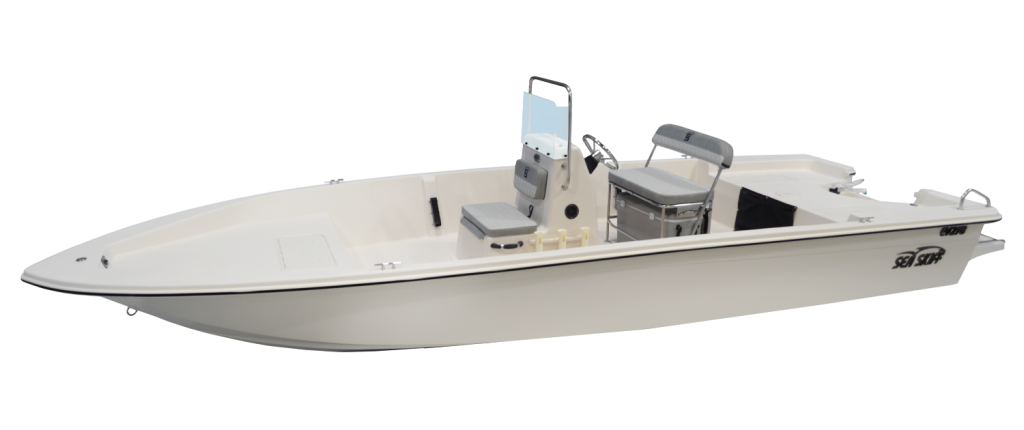
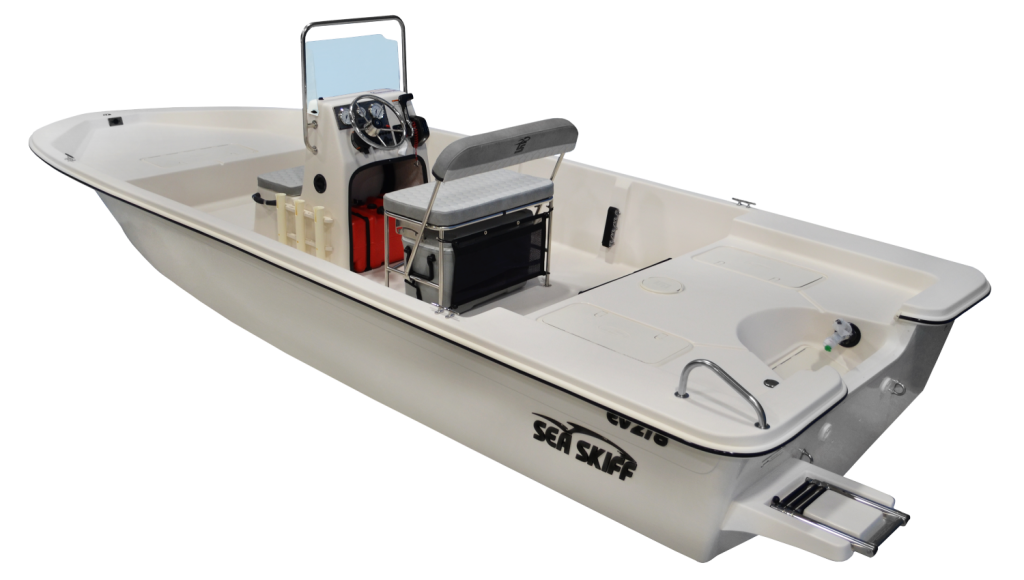
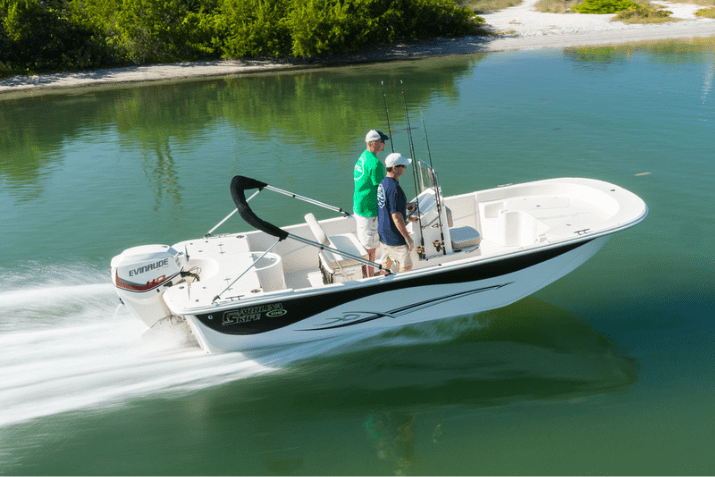
Looking to add a personal touch to your new or new-to-you Carolina Skiff?
That can easily be accomplished with custom boat decal graphics. Whether you’re a new Skiff lifestylist looking to make your boat your own or an experienced mariner looking for a simple solution, we’ve got the boat decal tips and tricks on how to apply and remove them.
We’ll cover all the basics, from the dry and wet application methods to a simple removal process. Keep reading to learn more, so you can feel confident in customizing your Skiff.
Application Supplies
A few items are essential for a successful DIY decal application, whether you prefer the dry or wet method. You’ll need to stock up on masking tape, window cleaner, and paper towels, and remember to grab a ruler, squeegee, and scissors! For those opting for the wet technique, get a spray bottle filled with water and a couple of drops of dish soap.
Dry Process
The dry method is fairly straightforward, and if done properly, it results in a flawless application every time. Here are the steps needed to apply a decal using this method:
- Clean the area on the boat where the decal will go with window cleaner or another suitable cleaning product.
- Using your masking tape, set your decal into position on your boat by taping each end of the sticker. Use your ruler to measure and make sure it is where you want it to be.
- Tape down the middle of the sticker so you can begin the application.
- Peel off one side of the backing from the decal, cut the backing off, and discard it, then gradually peel away more as you apply it to the boat. (Repeat this step to do the same to the other side of the sticker.)
- Place your decal gently onto your boat’s surface, ensuring its edges are properly aligned. If adjustments need to be made, make them before pressing down firmly.
- Use your squeegee to press down on top of the entire sticker, going from left to right or from top to bottom, so that no air bubbles are trapped underneath it.
- Go over the whole sticker again with a squeegee for added safety if you’d like.
- Finally, peel off the surface tape to reveal your decal.
Wet Process
Applying a decal to a boat using the wet method is slightly more complicated but also gives you perfect results. Here are the steps needed for this method:
- Like the dry method, start by cleaning the area of your boat where the decal will go with window cleaner or another suitable cleaner.
- Using your masking tape, position your decal on your boat by taping each end of the sticker. Use your ruler to measure and make sure it is where you want it to be.
- Tape down the middle of the sticker so you can begin the application.
- Lift one side of the decal to then use your prepared mixture of soapy water in your spray bottle to generously spray the part of the boat where the decal will lay.
- Peel off and discard the backing of the part of the decal that you sprayed beneath, then proceed to lay the sticker carefully on the chosen surface area slowly.
- Repeat steps 4 and 5 for the other side of the sticker.
- Use your squeegee to remove the water underneath.
- Finally, spray the decal with water again to loosen the decal’s surface tape. Peel off the tape slowly, and you’re done!
Removing Decals
Removing boat decals is possible, but it can be tricky. There are several ways to go about it, depending on the type of decal you have and how long it’s been attached to your boat. First, let’s go over a few supplies you’ll need for the removal process:
- Hairdryer
- Razor blades or a plastic spatula
- Rubbing alcohol or window cleaner
- Paper towels or soft cloth
- WD-40
For vinyl decals, start by heating the sticker’s edges with a hairdryer to loosen the adhesive. Once it’s warm to the touch, use a razor blade or plastic spatula, whatever you have available, to peel away the edges carefully. If there is any remaining adhesive residue, apply rubbing alcohol or window cleaner to remove it and let it sit for 5-10 minutes before wiping it away. Lastly, you can also use WD-40 to remove any remaining traces of adhesive from your boat’s surface.
Now that you’ve read our boat decal tips and tricks, it’s time to get your supplies so you can name your Skiff properly.
At Carolina Skiff, building one of the best quality boats for a great price has always been our goal. Whether you’re looking for a pleasure boat, fishing boat, or runabout boat, Carolina Skiff delivers the most in value, quality, and style. Find a Carolina Skiff dealer near you today, or visit our website to learn more.

